- Create single contact
- Import contacts
- Add contacts via the API
Create single contact
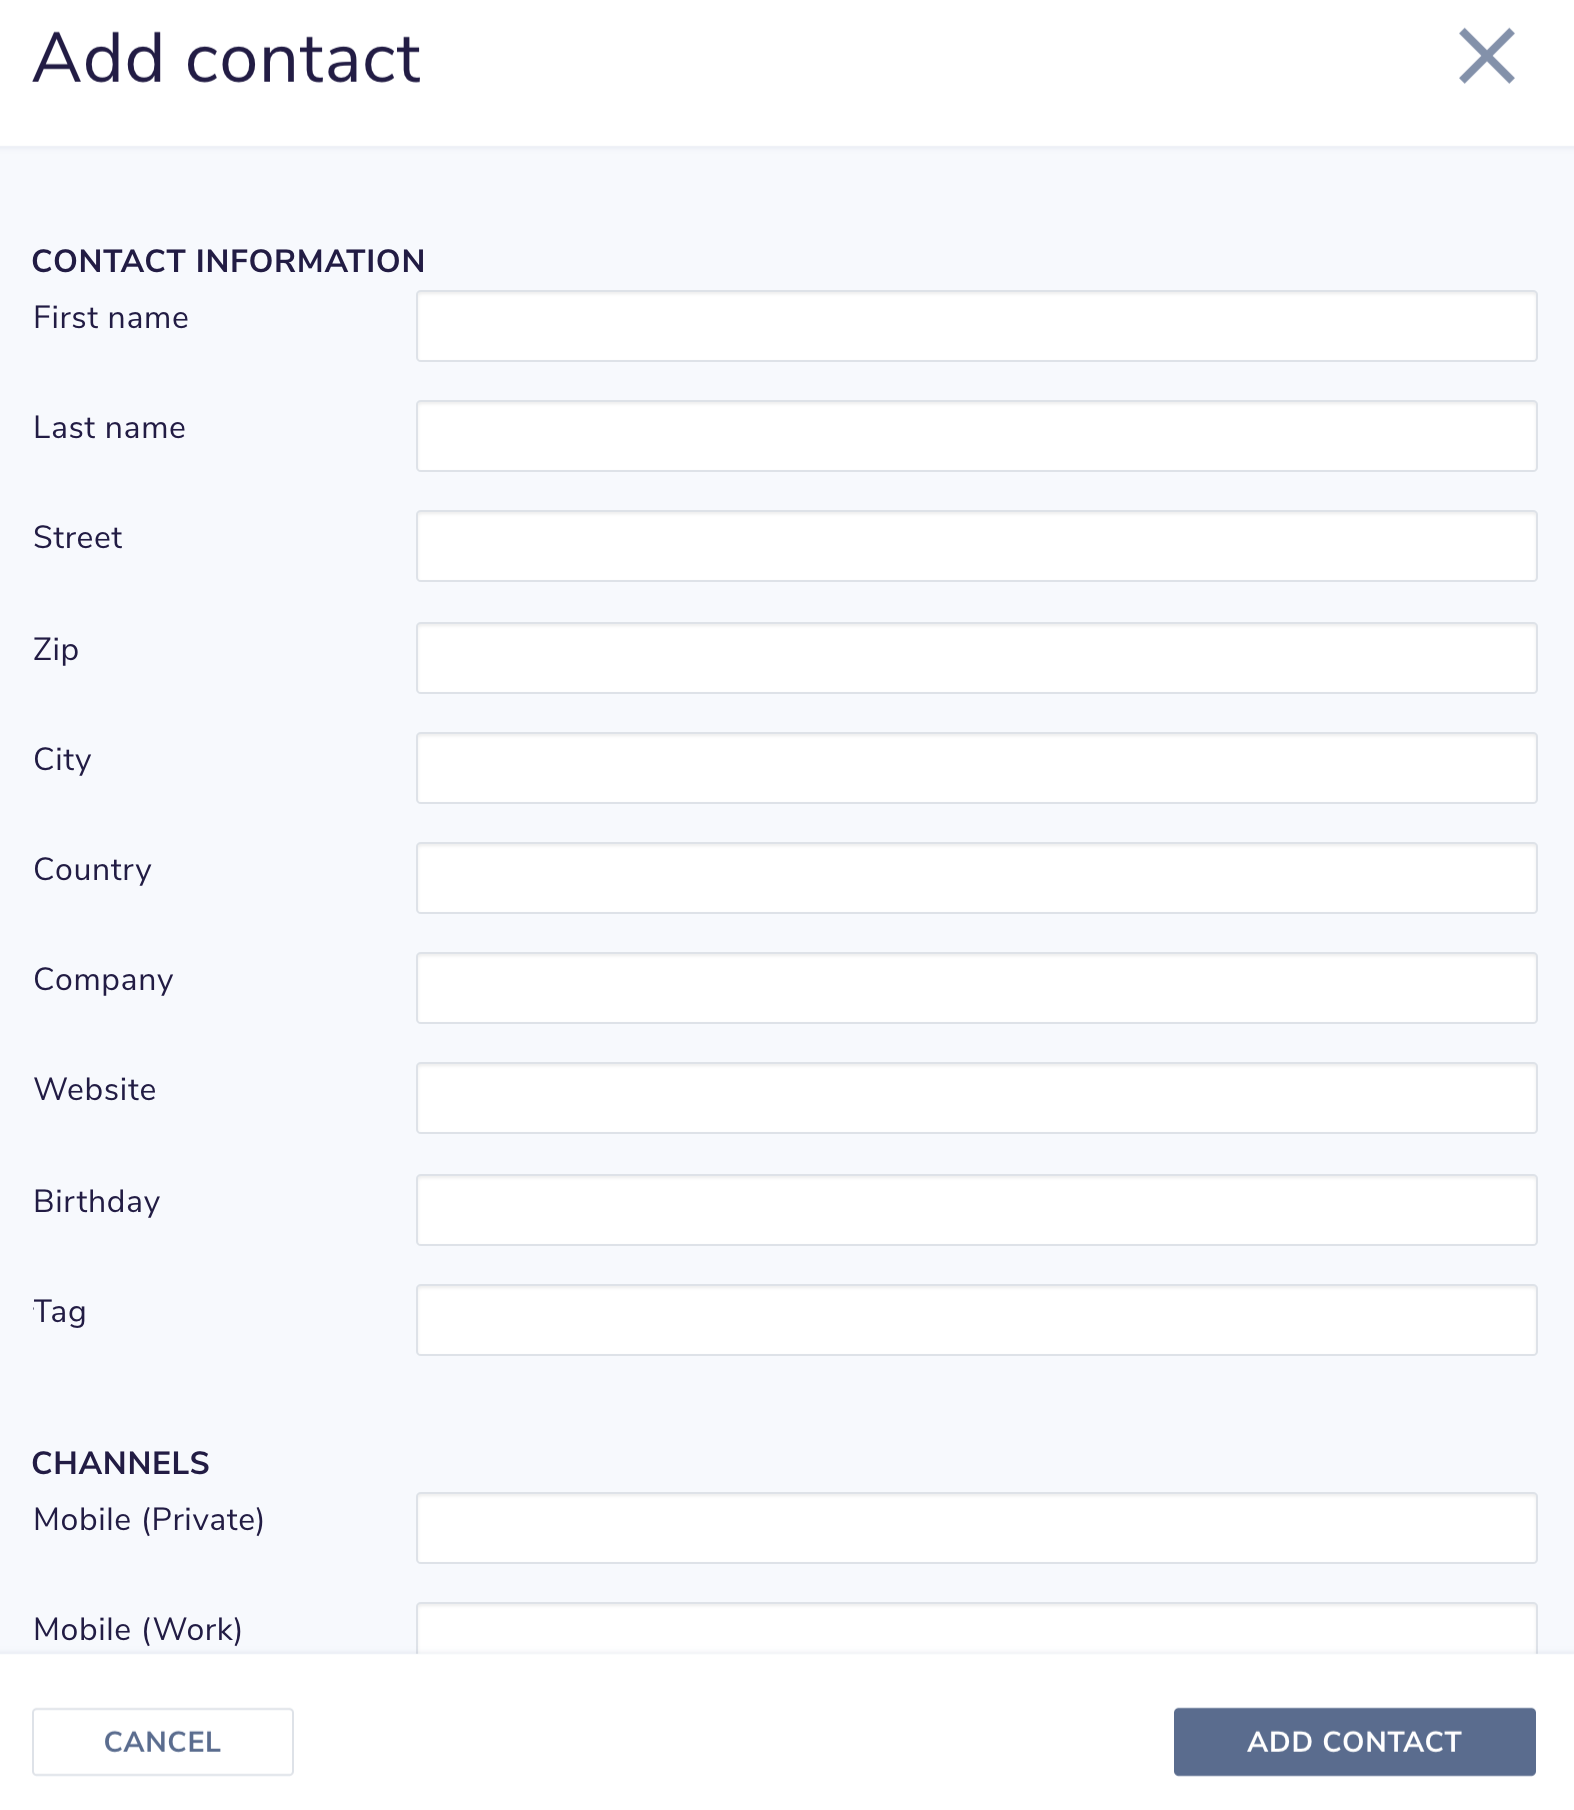
Creating a single contact is easy. We will explain it step-by-step.
Step 1
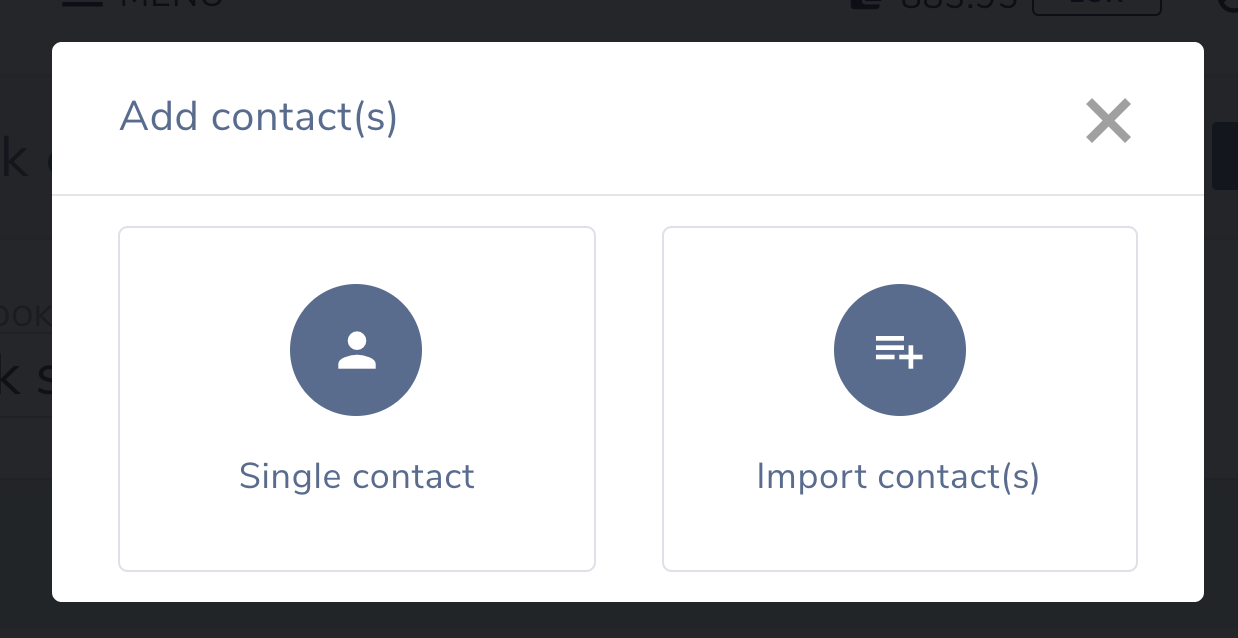
Open your `Address book` and click on `Add contacts`.
Import contacts
Creating many contacts one by one may be very time consuming. Therefor we have an option to import many contacts at once. You can easily upload an Excel sheet or CSV file.
Step 1
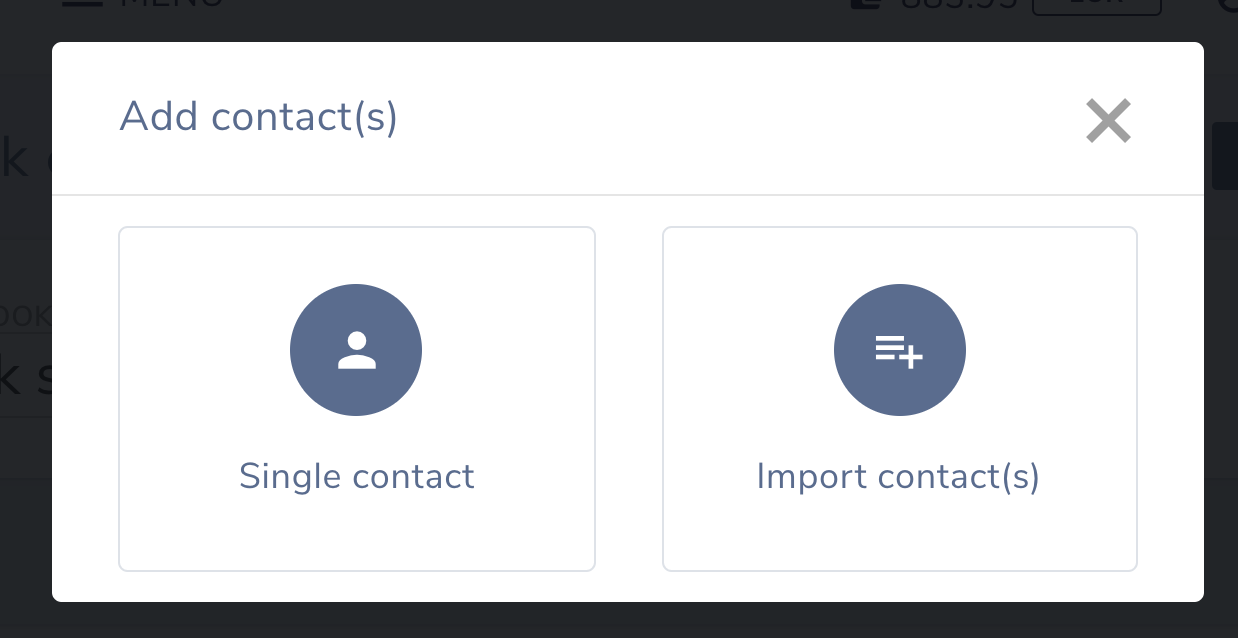
Open your `Address book` and click on ‘Add contacts’.
Step 2
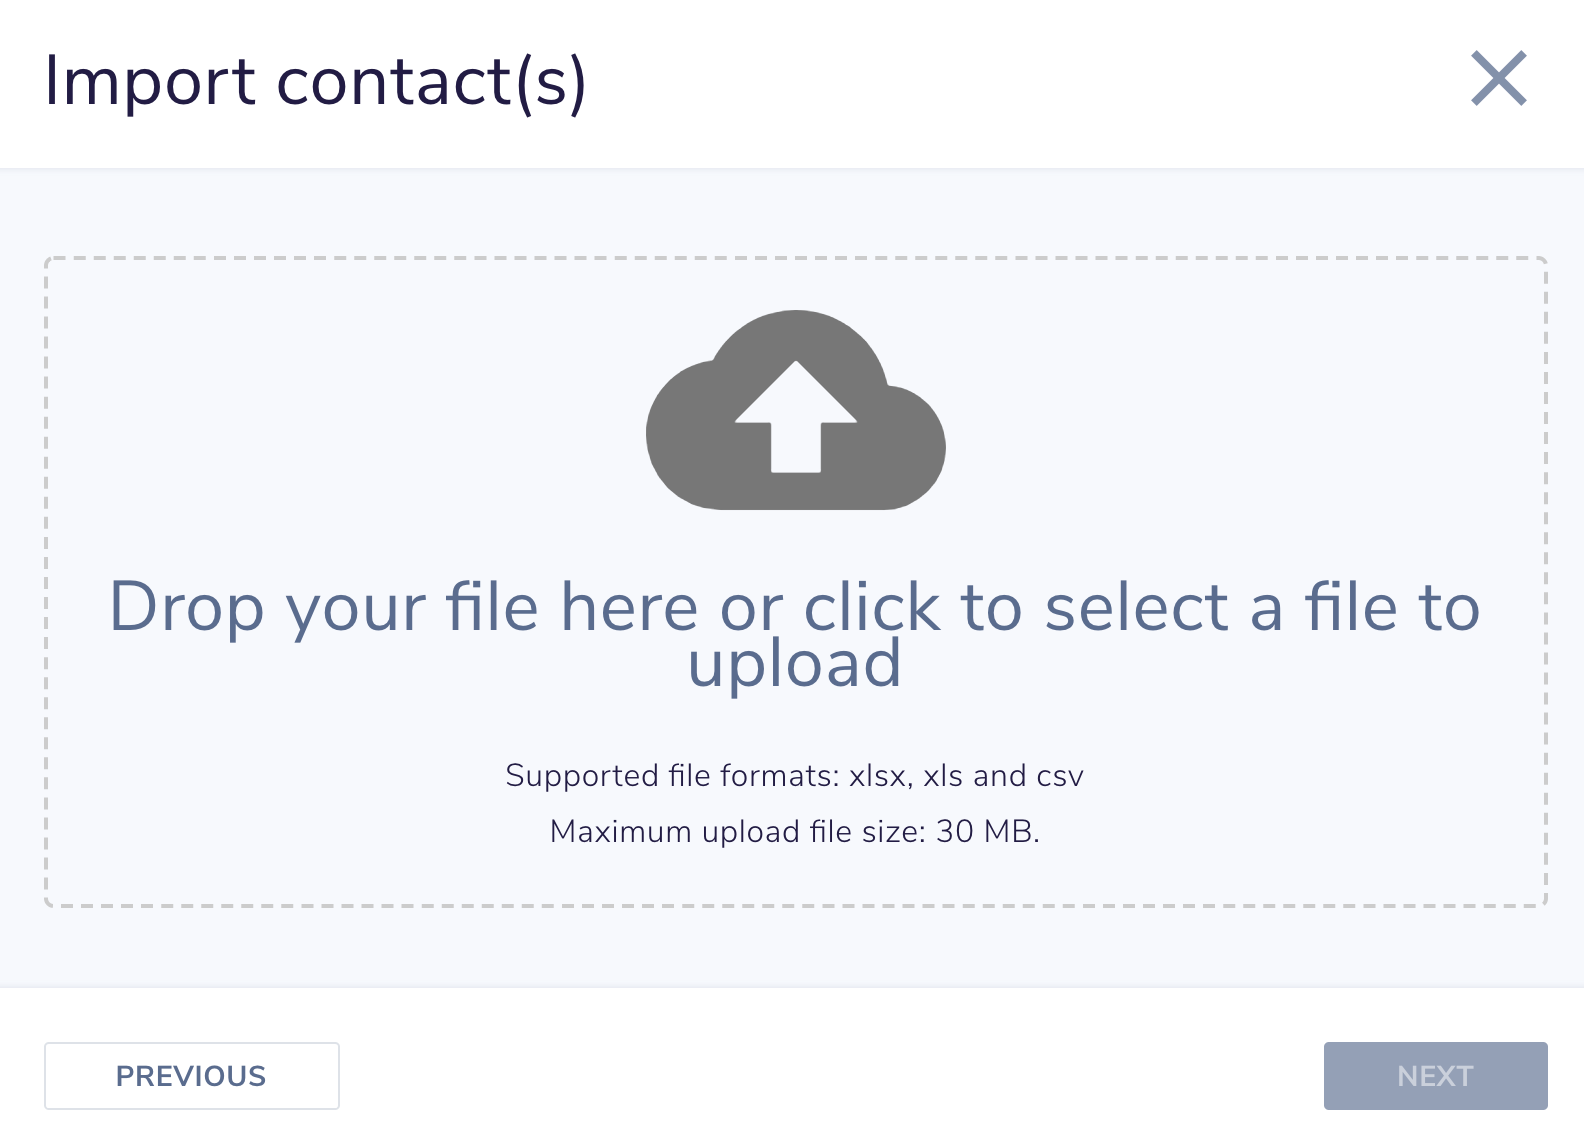
Now click on `Import contacts`. You can then drop your file here or click to select a file to upload.
Step 3
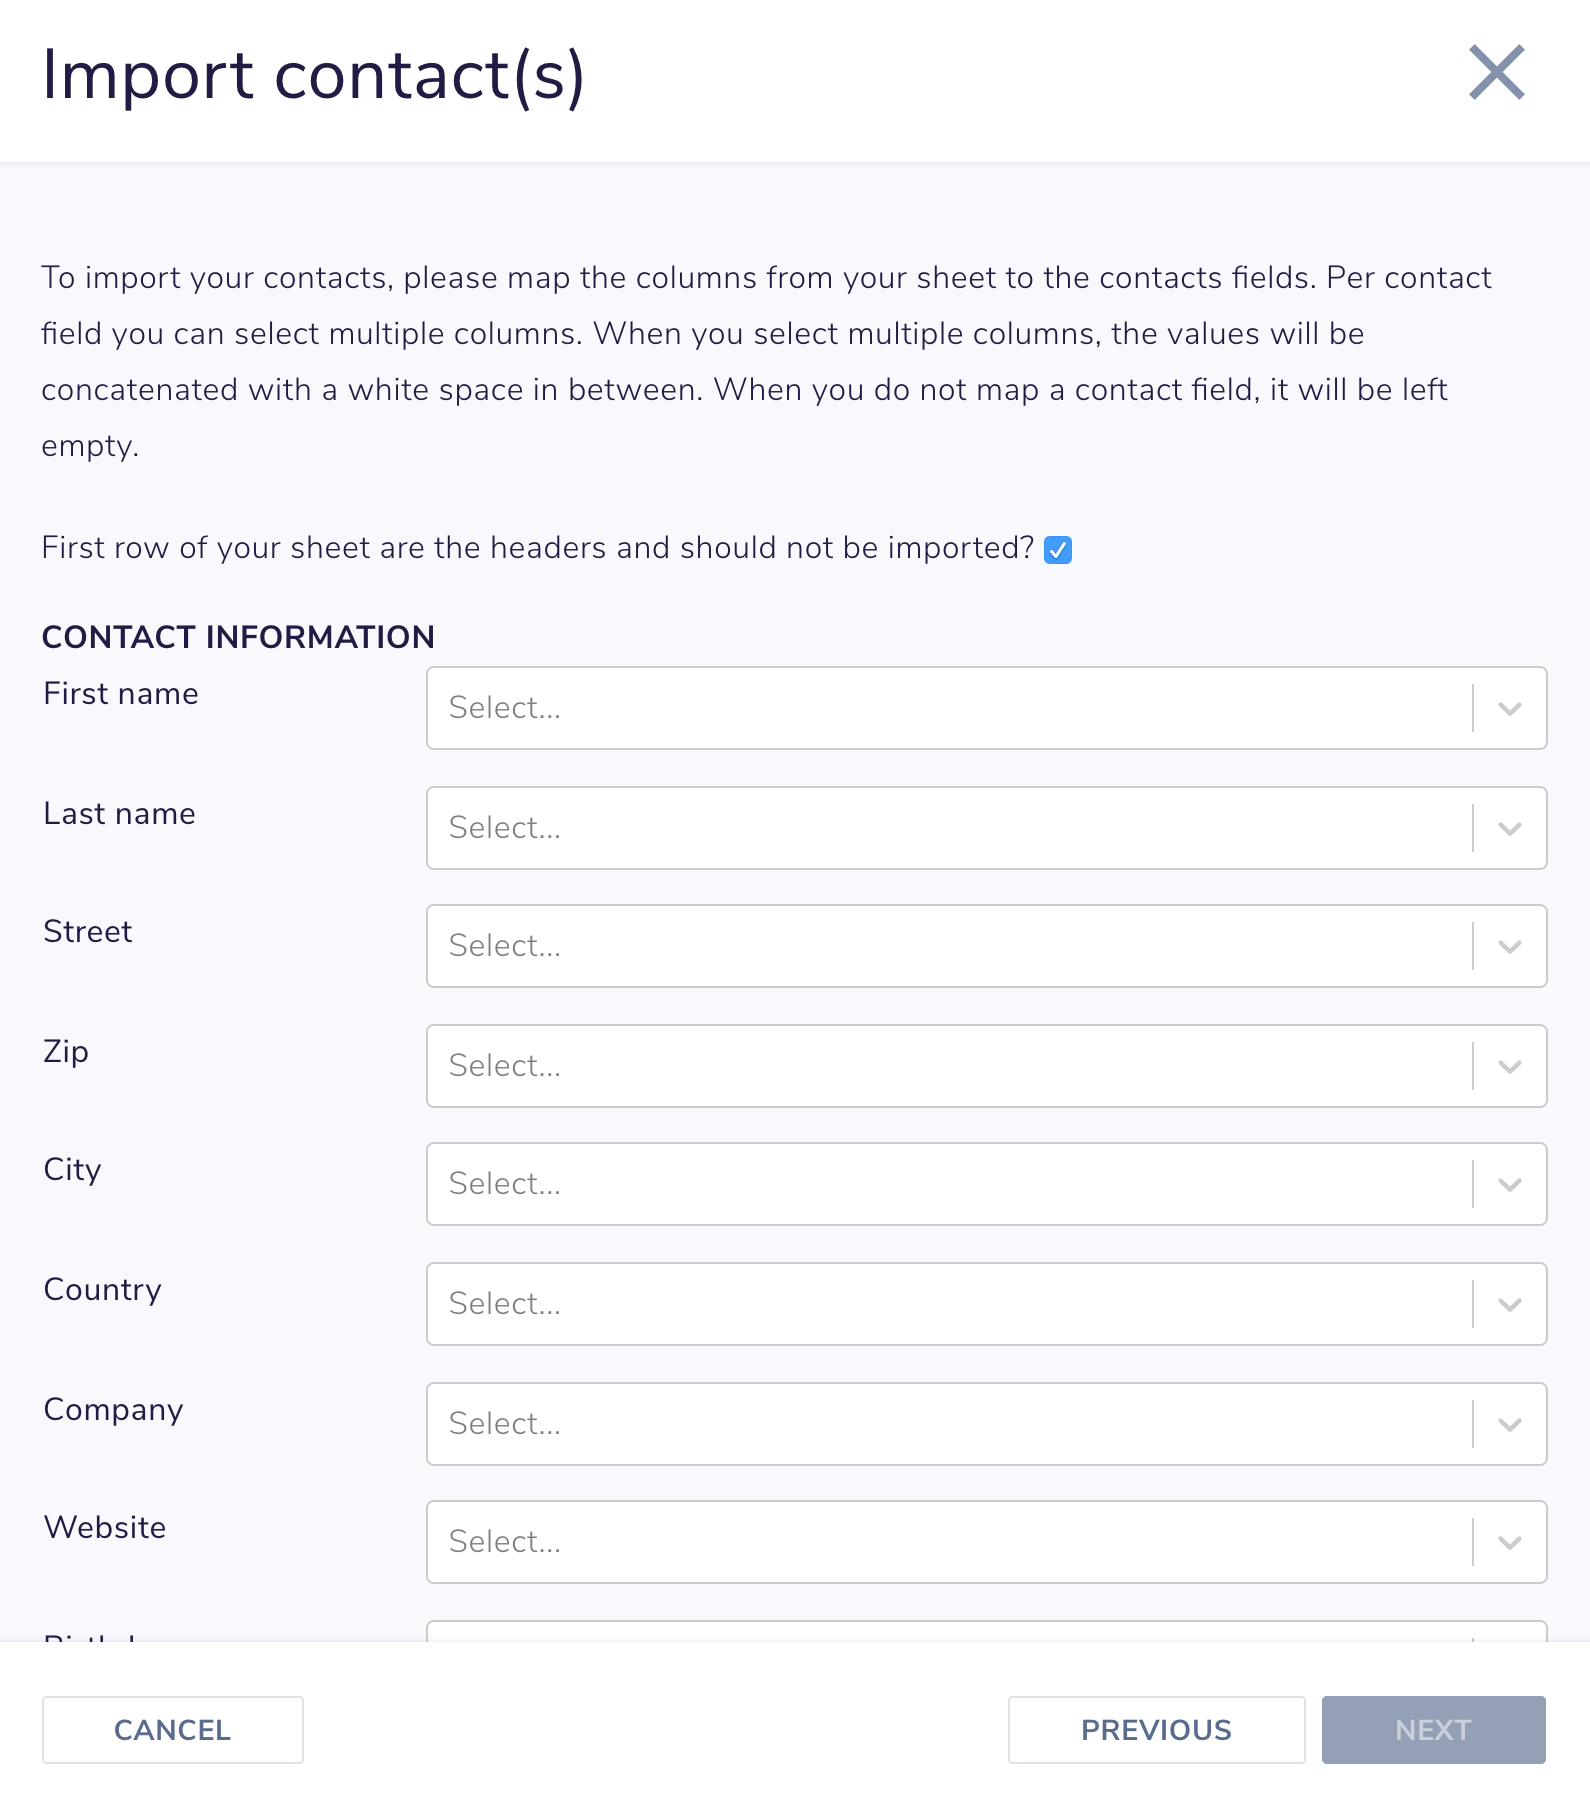
The system will now upload your file. Once done, you can map the columns in your sheet to the address book fields.
If the top row of your your sheet is the header row, you can leave the checkbox at the top checked. When your first row is also a contact, you can uncheck the checkbox.
Step 4
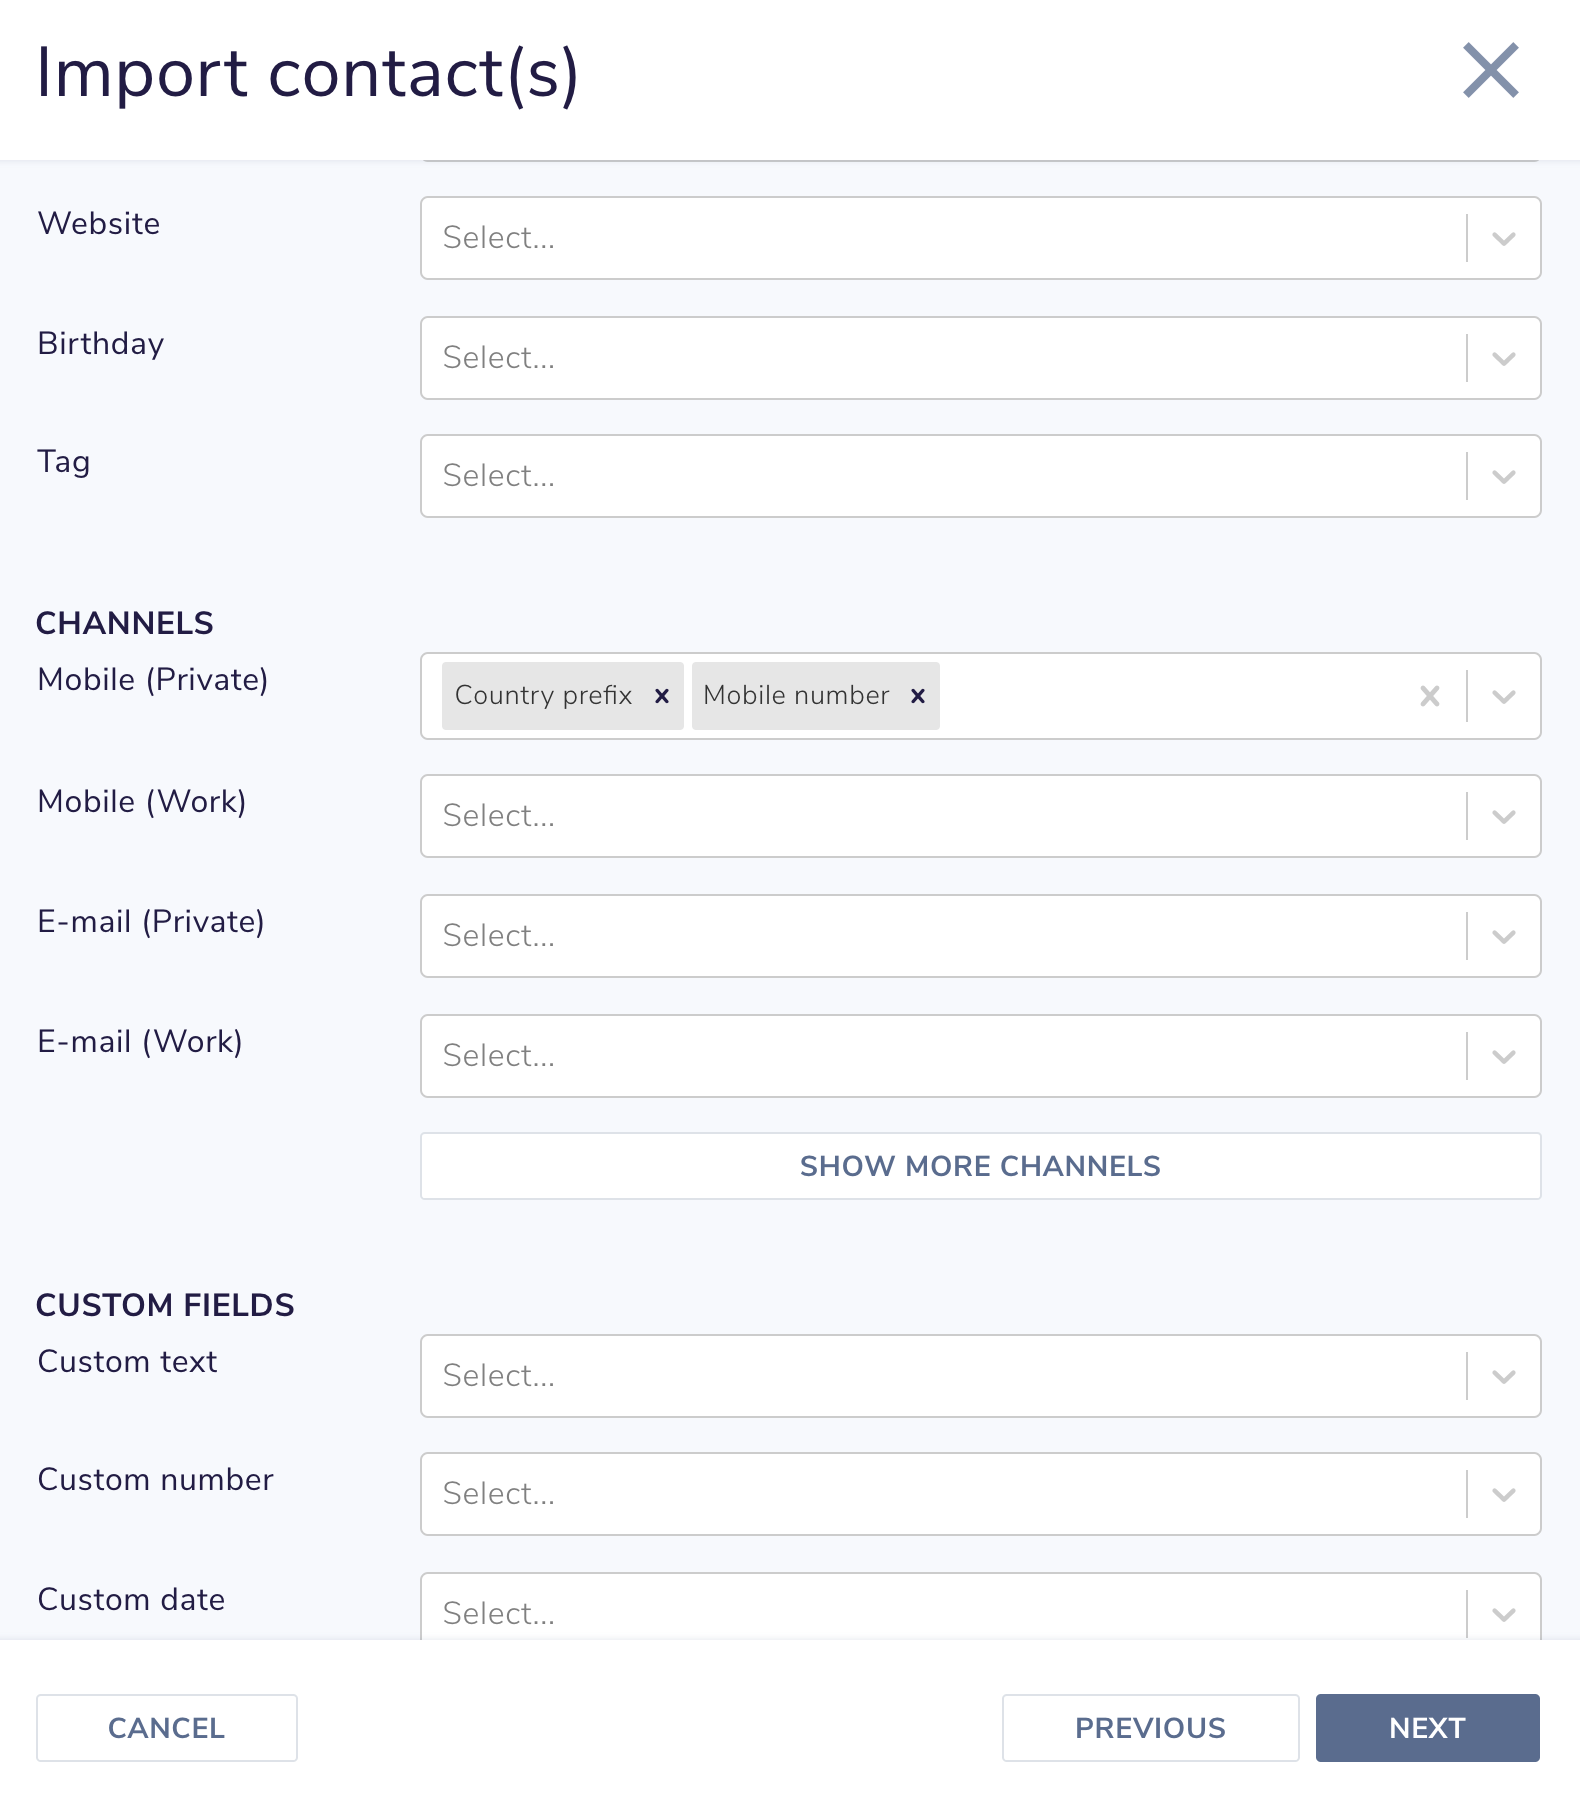
For an address book field you can select multiple columns from your sheet. The system will then concatenated the data from those cells.
Step 5
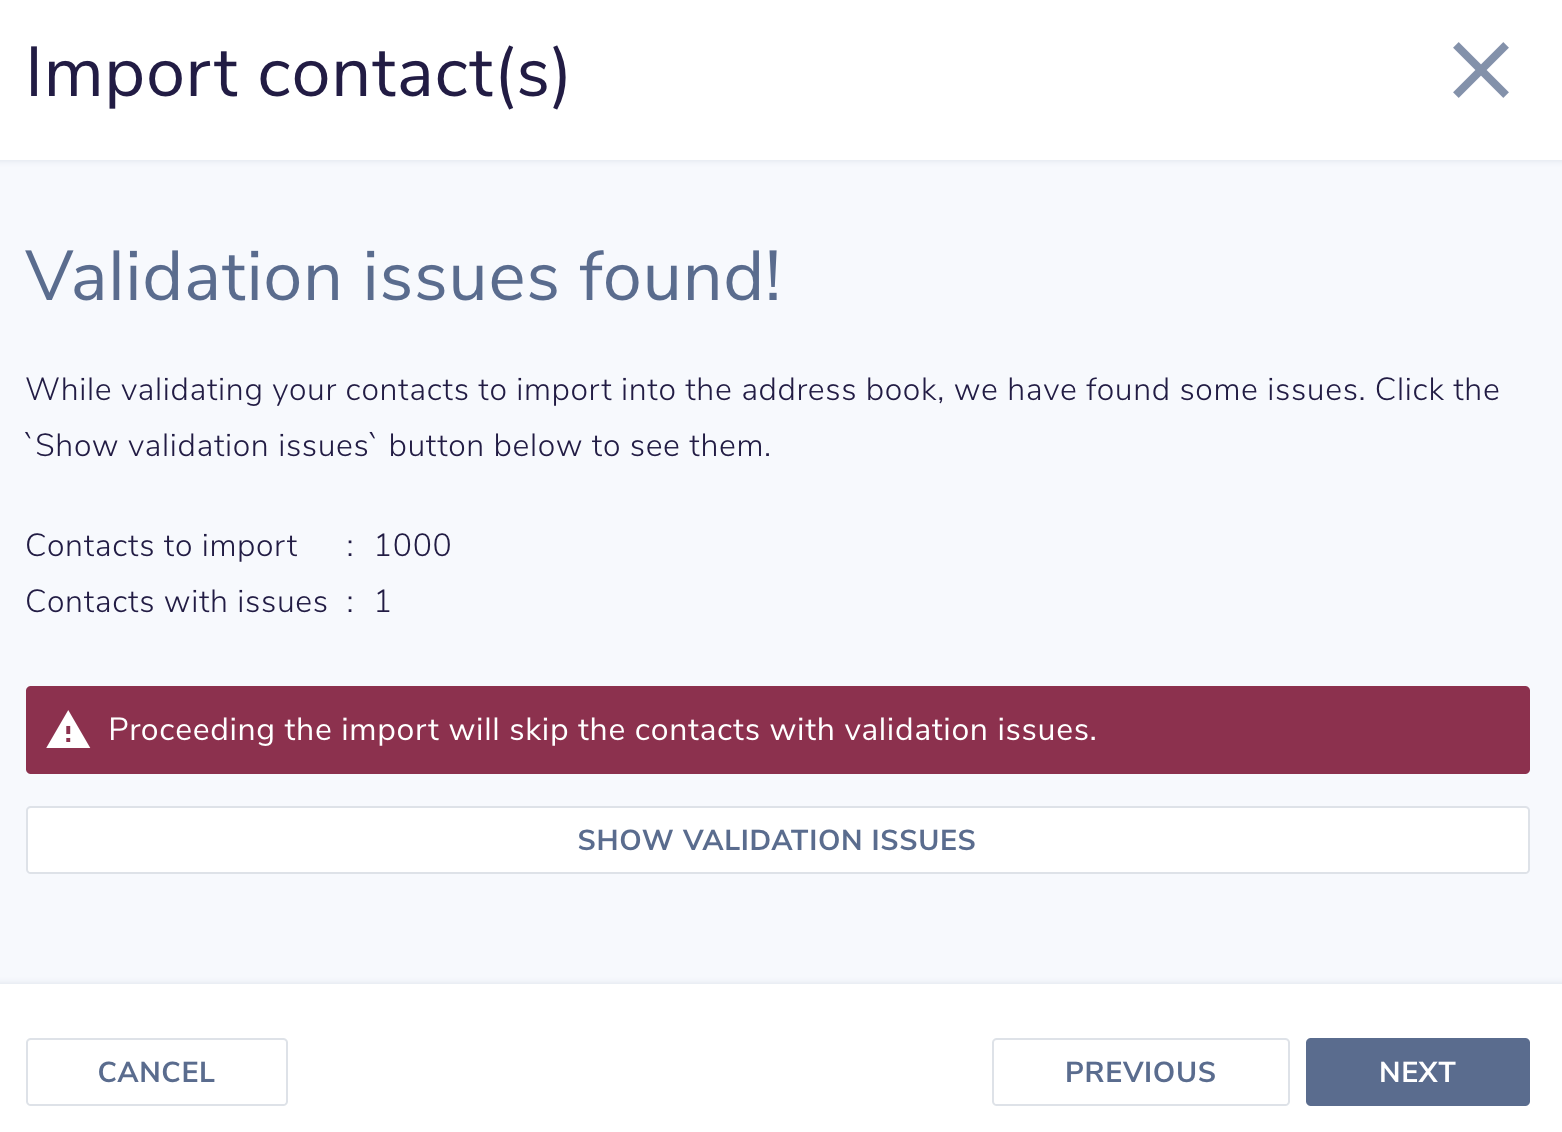
When you have mapped the columns from your sheet to the address book fields, press the `Next` button. The system will now validate your contacts. When the validation is done you will see an overview of the number of contacts found and the number issues. By clicking the `Show validation issues` button you will see per row the issues found.
When there are validation issues, you can go back to correct the mapping if that is causing the issues, or continue by pressing the `Next` button. When you continue the rows with validation issues will be skipped and no contact will be created for it.
Add contacts via the API
Adding contacts via the API is simple and you can add maximum 1.000 contacts via a single call.
$contacts = array();

$contacts[] = array(

    'attributes' => array(

        'first_name' => 'john',

        'last_name' => 'doe',

);

$client->add($contacts);


