How to manage Address Book fields
The address book service offers a flexible address book to manage your contacts via an API or in our Mobile Communicator. You can manage the fields you can set for your contacts. In this tutorial we explain how you can manage the fields. When you create an address book service, a default set of fields is already created for you.
Step 1
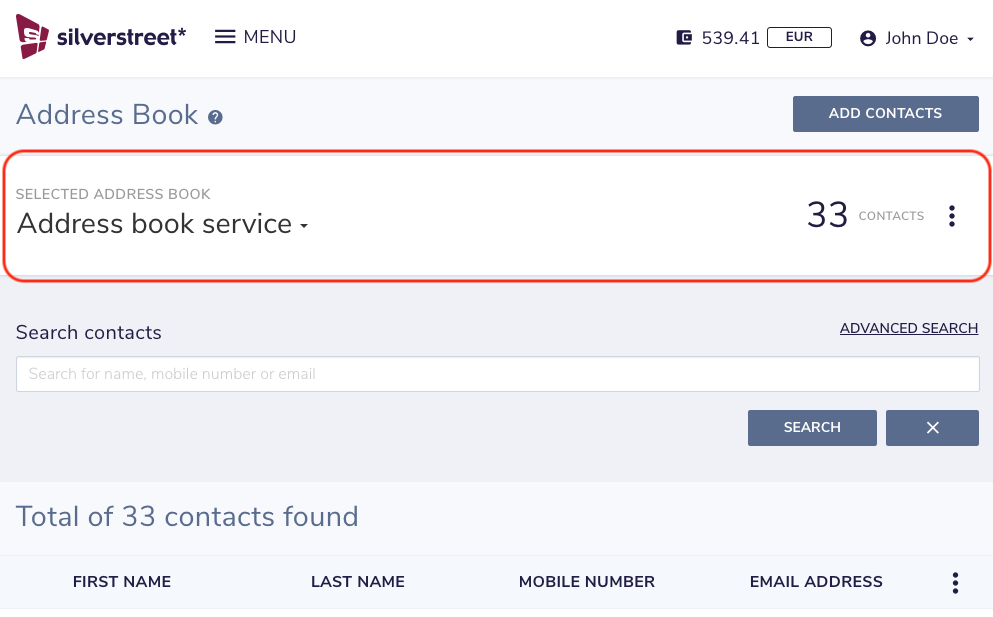
Open the address book page and select your address book service.
Step 2
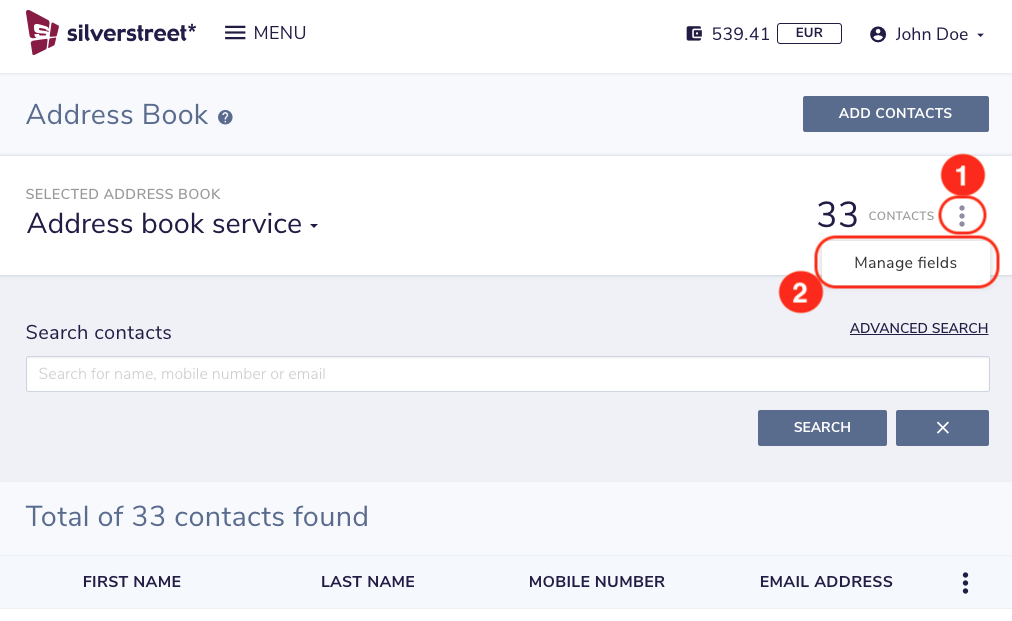
Click on the 3 dots (1) on the right side of the number of contacts in your address book and select ‘Manage fields’ (2).
Step 3
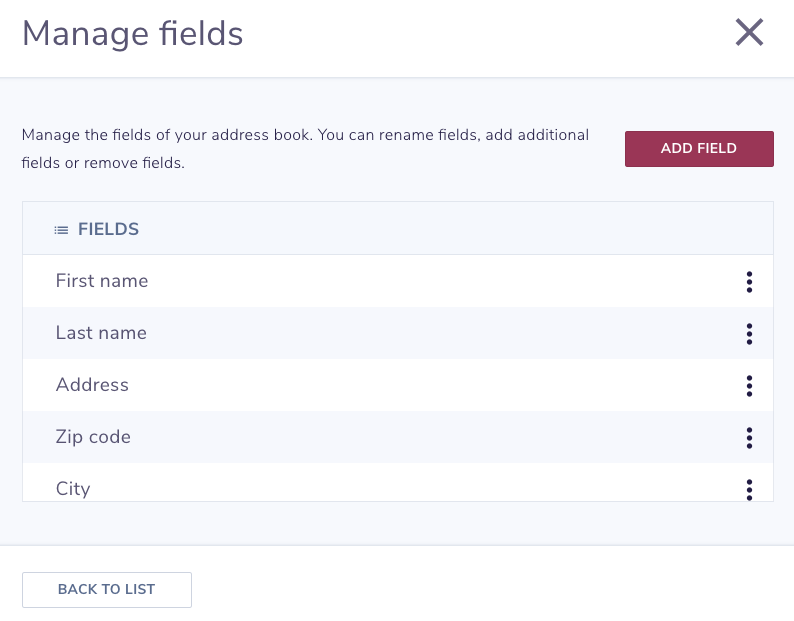
You now see a list of configured fields of your address book. You can add, edit and delete fields.
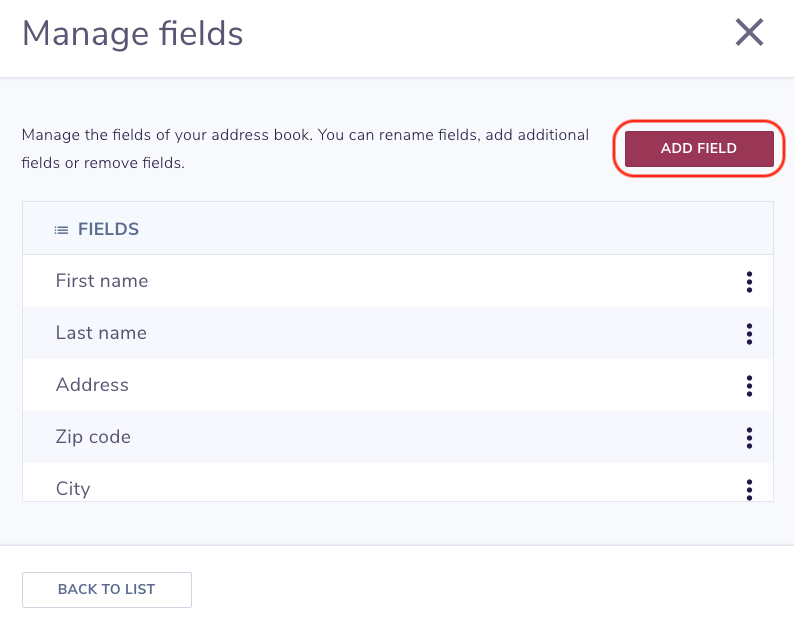
- To add a new field go to step 4.
- To edit a field go to step 6.
- To delete a field go to step 8.
Step 5
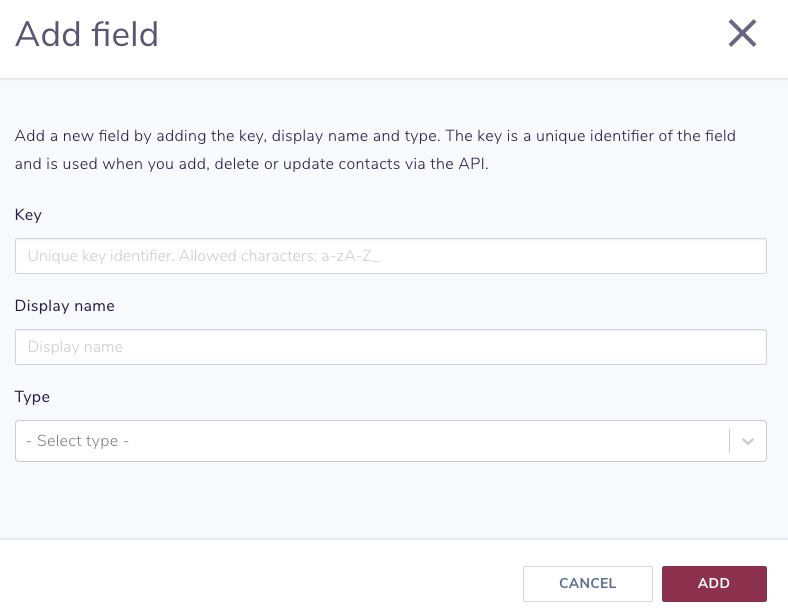
For a new field you will have to fill in a `Key`, `Display name` and `Type`. When you have filled in those fields press the `Add` button.
For more information on the fields you have to fill in, check out the tutorial `Custom address book fields`.
Step 6
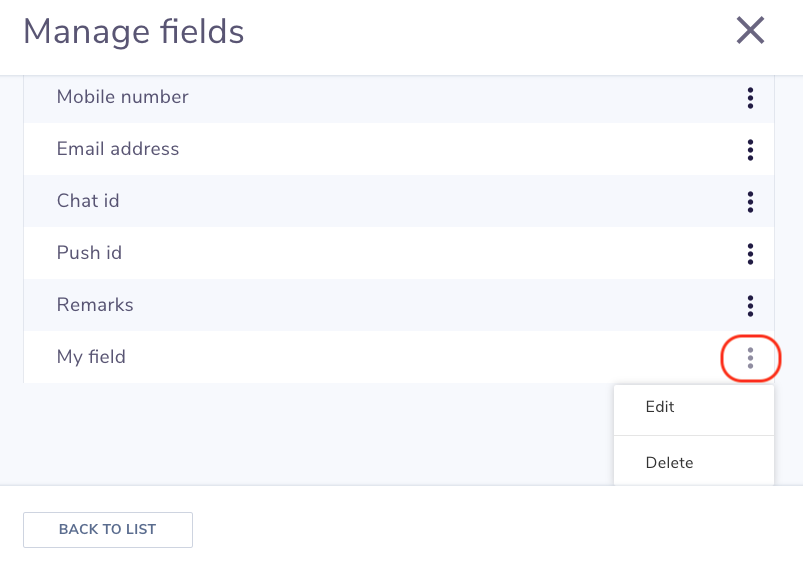
To update a field, press the 3 dots on the side side of a field in the list, and select the `Edit` option.
Step 7
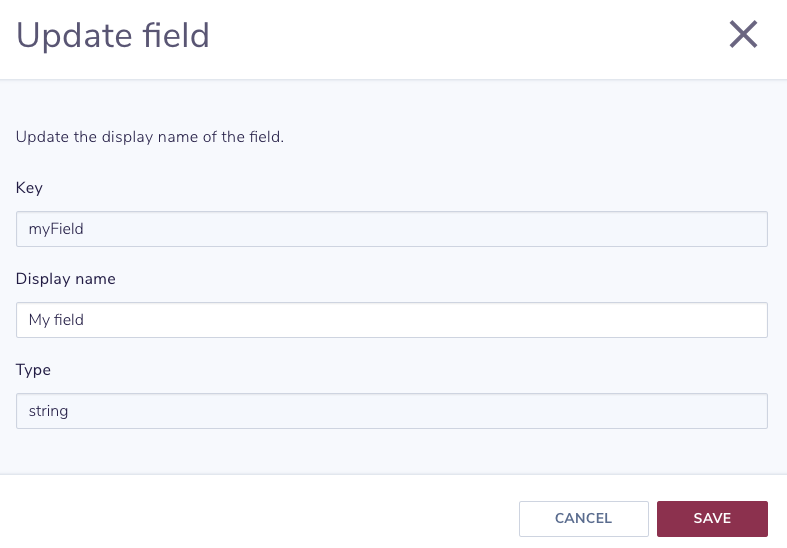
When editing a field, you can only change the display name. Enter the new display name and press the `Save` button.
Step 8
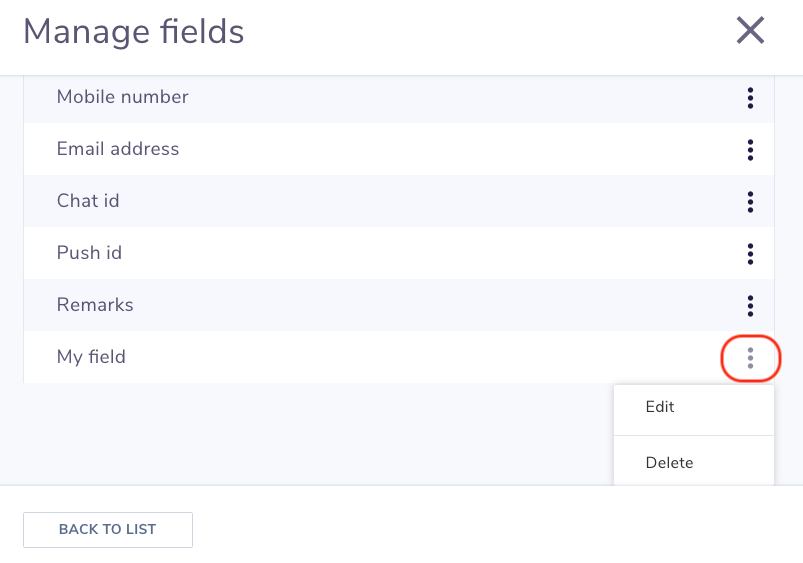
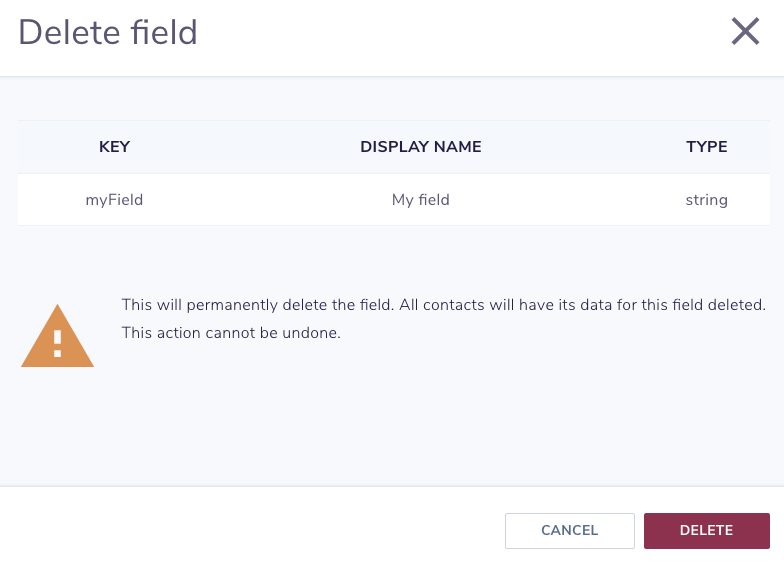
To delete a field, press the 3 dots on the side side of the field in the list, and select the `Delete` option.


